
I have always been in love with striped walls. Whether it be horizontally or vertically, I think it makes any room look amazing! I didn't really know where to begin though and I was a little intimidated by the idea. It could not have been easier and I LOVE the way it turned out. The hubs and I knocked this project out in an afternoon from start to finish. The idea of choosing a paint color always gives me major anxiety. I have no clue why but there are seriously just so many options and variations of colors and color matching with other colors and then with the rest of the house. Oh man. Anyways, I really love pink. This is a new thing, I was always a blue girl growing up but these past few years I have really shifted toward pinks for whatever reason. When I found out I was pregnant, I knew I didn't want to do just like solid hot pink on the nursery walls because that would be a little much but I definitely wanted to paint them. When I saw a friend do stripes, I knew instantly that was it!
These steps only work if you don't mind having the current wall color as one of the stripes. If you want to change it, you just have to paint all the walls that color first.
Step 1: Choose and buy a paint color. I know, its hard to decide. You can do it! Depending on the size of your room, a pint should do!

We chose Very Berry from Valspar at Lowe's.

Step 2: Measure your wall, not including the trim. You want to make your stripes pretty equal if at all possible. So take that measurement and divide it by 5.
Our paintable wall space, not including trim was about 92 inches. So 92/5=18.4 Nobody has time for the .4 though so we dropped that and did the top 4 stripes 18 inches and the bottom stripe 20 inches.
I actually learned in a high school that when you center a picture, you actually want to leave more space on the bottom than on top because to our eyes, that looks more centered than when it is truly centered.
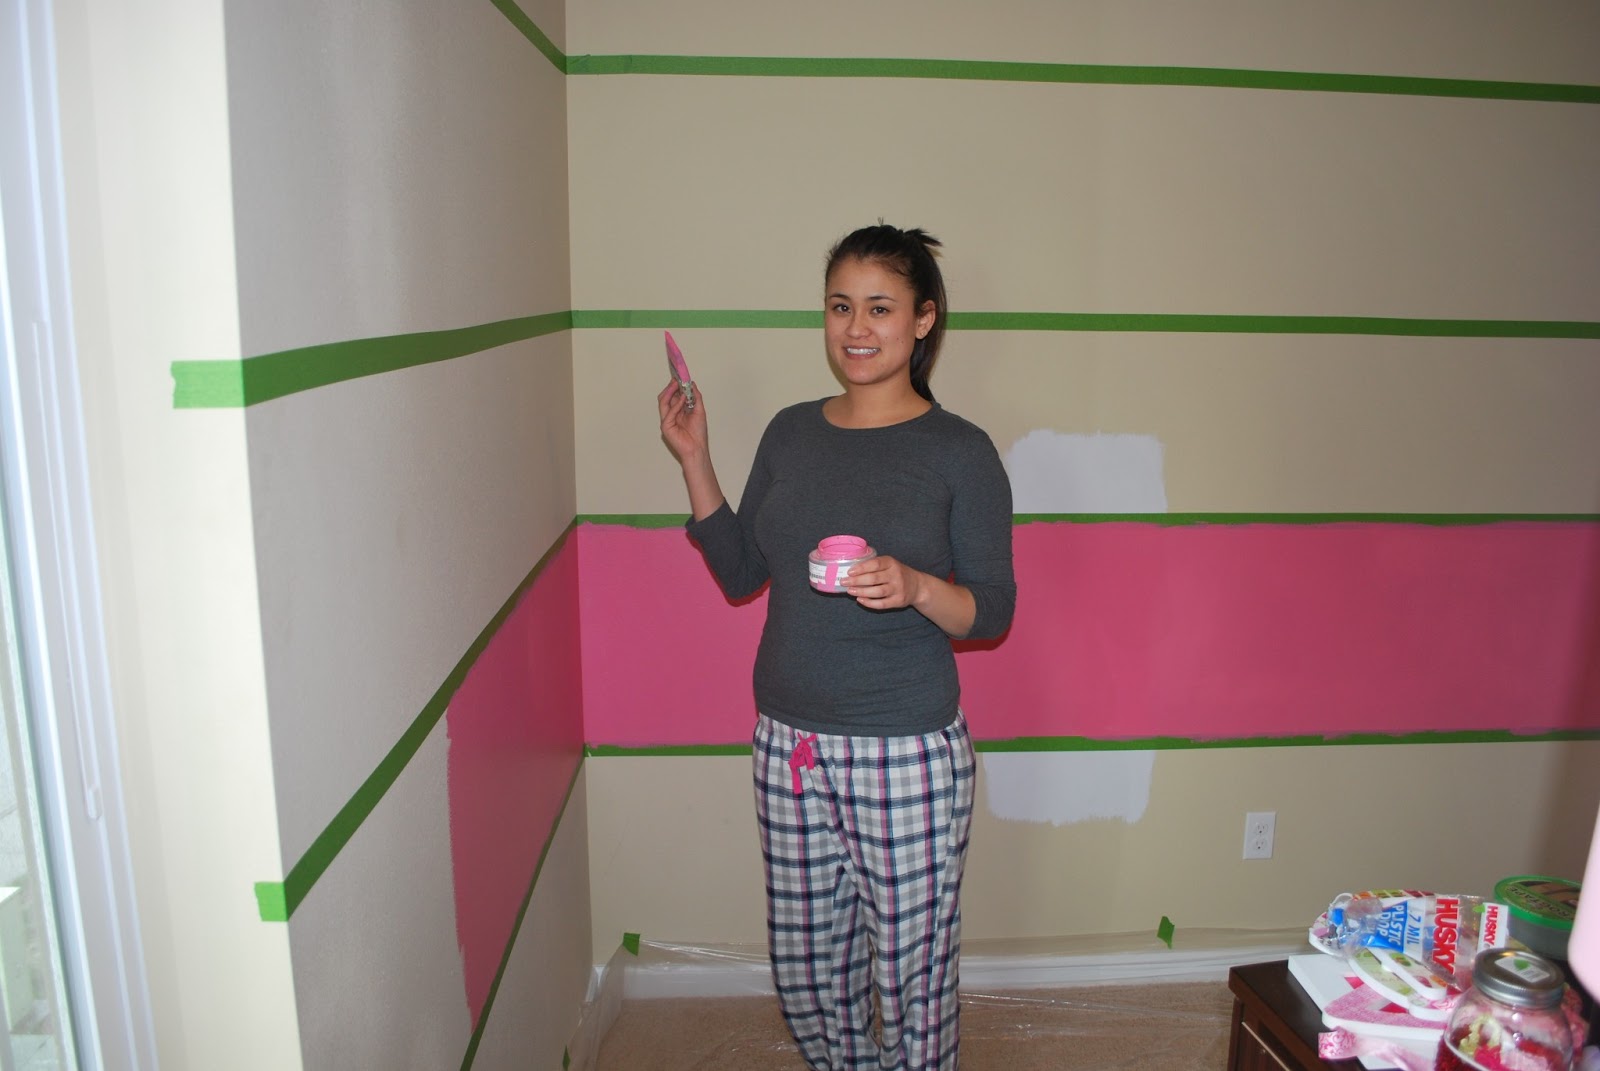
Don't mind the white, we painted over that. We were going to do pink and white stripes but decided to go with the brown that was already on the wall to save time. The stripes will not look even right now because you are only painting the pink stripes.

Step 3: Tape the walls. This is probably the hardest step and is easier with 2 people. Measure from the bottom your wall and mark the height with a pencil. Then do a few more marks along the wall. I recommend getting a laser level and then using that to make sure it is straight. Then you want to tape it. We found it easiest when one person was pulling the tape and one person was pressing down on the tape and guiding it onto the wall. Make sure to do one continuous piece of tape so you don't have any unnecessary gaps in the tape.


Step 4: Paint.


Step 5: Pull off tape and marvel at the beauty :)


Now I just need to make some curtains!
No comments:
Post a Comment